
How to Build a Keyboard, Pt.1
A few years ago, a friend and coworker came in to work one day with a mechanical keyboard under his arm. If memory serves, it was a standard 87-key layout with Cherry MX blue switches, but all anyone noticed were the keycaps.
I was happily a standard issue MacBook keyboard user at the time (pre-2015 redesign, RIP). I'd never typed on anything else. Glancing over at his desk as he set it down, I was the first to pose the question I'd later hear him field a few times a week: ...but where are the letters?
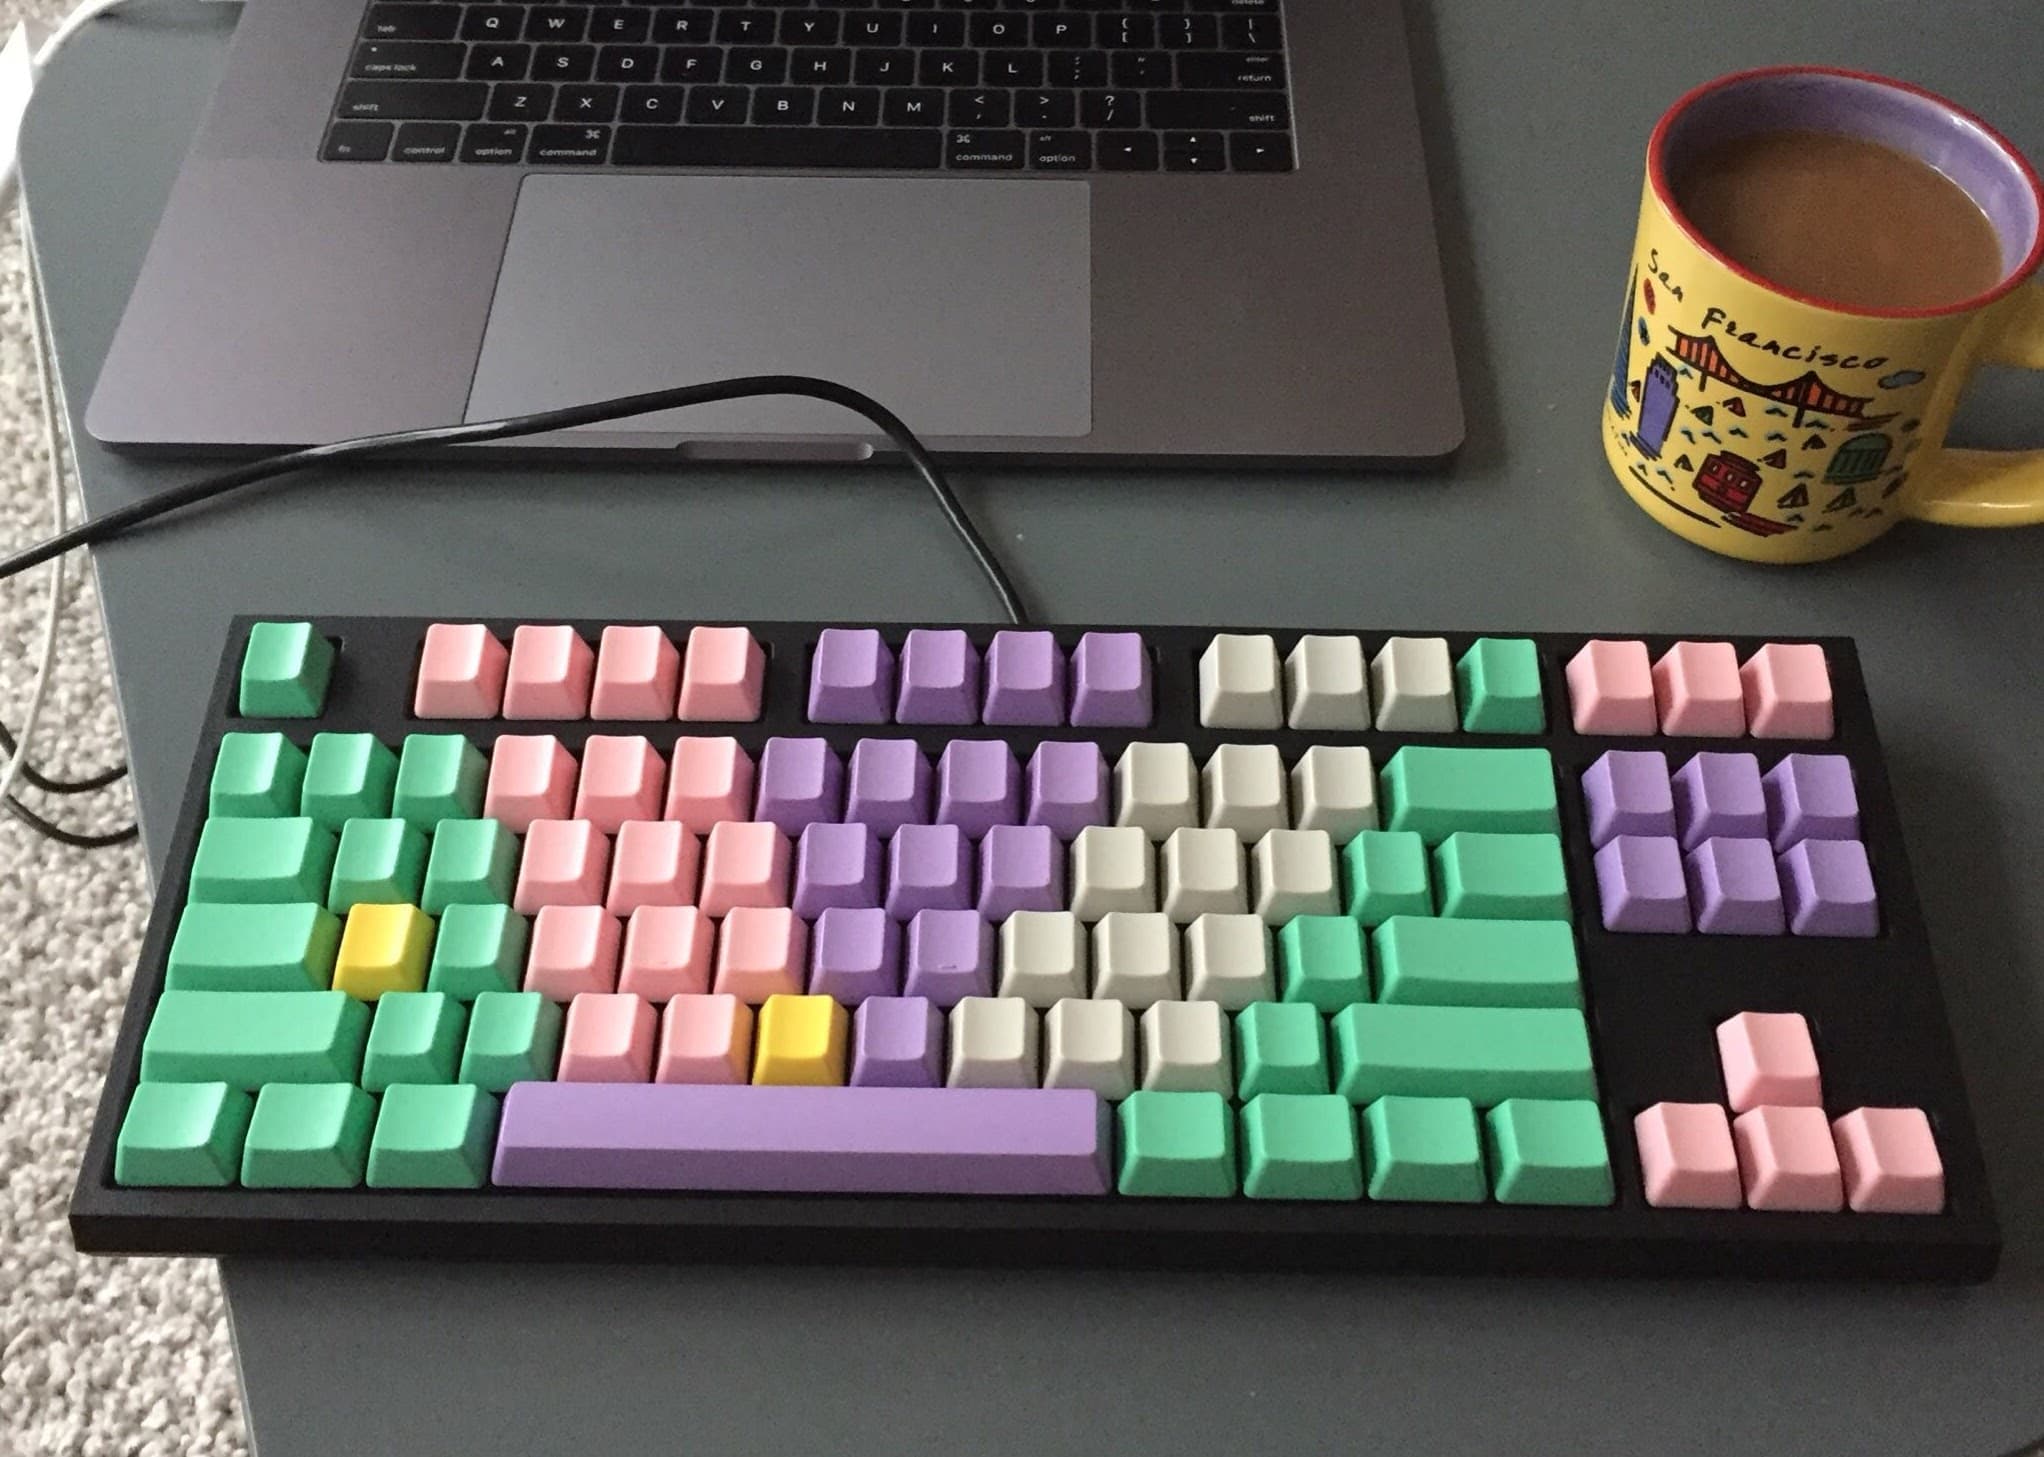
He had chosen a flashy pattern of multicoloured, and crucially, blank keycaps. Something about them was both endearing and an affront. They said: "I'm a confident touch typer making a playful aesthetic choice," and also "if you're not in the club, I am the functional equivalent of a gilded tray of marbles." I was mystified.
WASD
My first mechanical keybord was one I would purchase preassembled: a WASD 87-key "v2" build. It (not coincidentally) also had blank keycaps, though I went with the slightly quieter but still satisfyingly tacticle Cherry MX Brown switches. I was a fast typist, but I found myself hedging: I got my initials in highlighter yellow as a visual anchor 💛
I loved it and used it every day for almost two years. And then I saw the Planck.
Planck OLKB
The Planck looked more like a practical joke than a productivity tool the first time I saw it. Its petite size (40% the size of a typical keyboard) and unusual grid layout ("ortholinear") give the Planck both a strange and satisfyingly symmetrical look.
It was so fundamentally different from every keyboard I'd ever seen that at first I was genuinely confused as to whether it was some kind of art project or if people actually used it to get things done. Frustratingly, this question seemed to have an answer so obvious that no one had wasted their time posting it online, until an internet commenter somewhere assured, no, seriously, they use their Planck at work! That was all I needed.
If you're still wondering about that maybe-fake-sounding term "ortholinear," here's a bit of history from OLKB:
Ortholinear is a semi-made-up word that was originally coined (to my knowledge) by TypeMatrix as "ortho-linear" - this term got concatenated, became popular among the keyboard community, and eventually became the banner for a keyboard company!
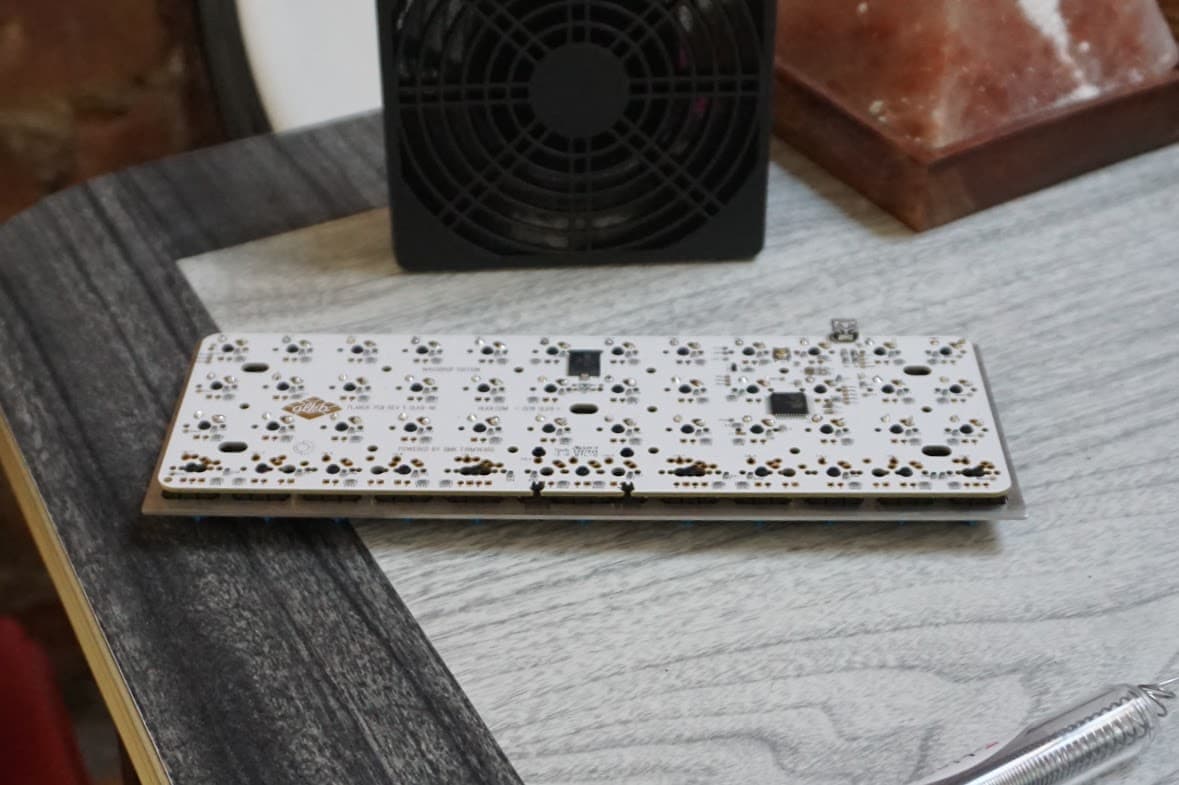
The company OLKB (OrthoLinearKeyBoards) sells Plancks in ready-to-build kits; for the most part, you can't get a Planck preassembled. I got mine on Drop and it arrived in a handful of pieces: a PCB (Printed Circuit Board), a single steel plate with holes where the switches would be mounted, an alumninum case to house the finished product, a humble USB cable and a bag of keycaps.
Learn to Solder
I knew I'd have to solder the switches to the board, something I'd never done before. (In the past I'd played around with little hardware projects but was always careful that no soldering was required.) After a bit of research, I picked up:
- the "Blink" Learn to Solder Kit
- a pair of micro wire cutters
- this fan to remove solder fumes
- a now-discontinued $17 soldering iron kit that came with an iron, some solder, and a carrying case
I found the learn to solder kit to be very approachable: it comes with a single small PCB, 3x LEDs, 3x resistors, 3x push button switches and a 3V coin battery and battery holder. I watched a few YouTube videos of people soldering and came across the great Adafruit Guide to Excellent Soldering before I gave it a shot. In about ten minutes, I had turned a pile of loose parts into a tidy row of buttons hooked up to a battery that could summon light from LEDs. 🤯
My first attempt at soldering was passable! I did have one joint I needed to fiddle with, but more importantly, I was becoming comfortable wielding an iron without having to think about a "real" project.
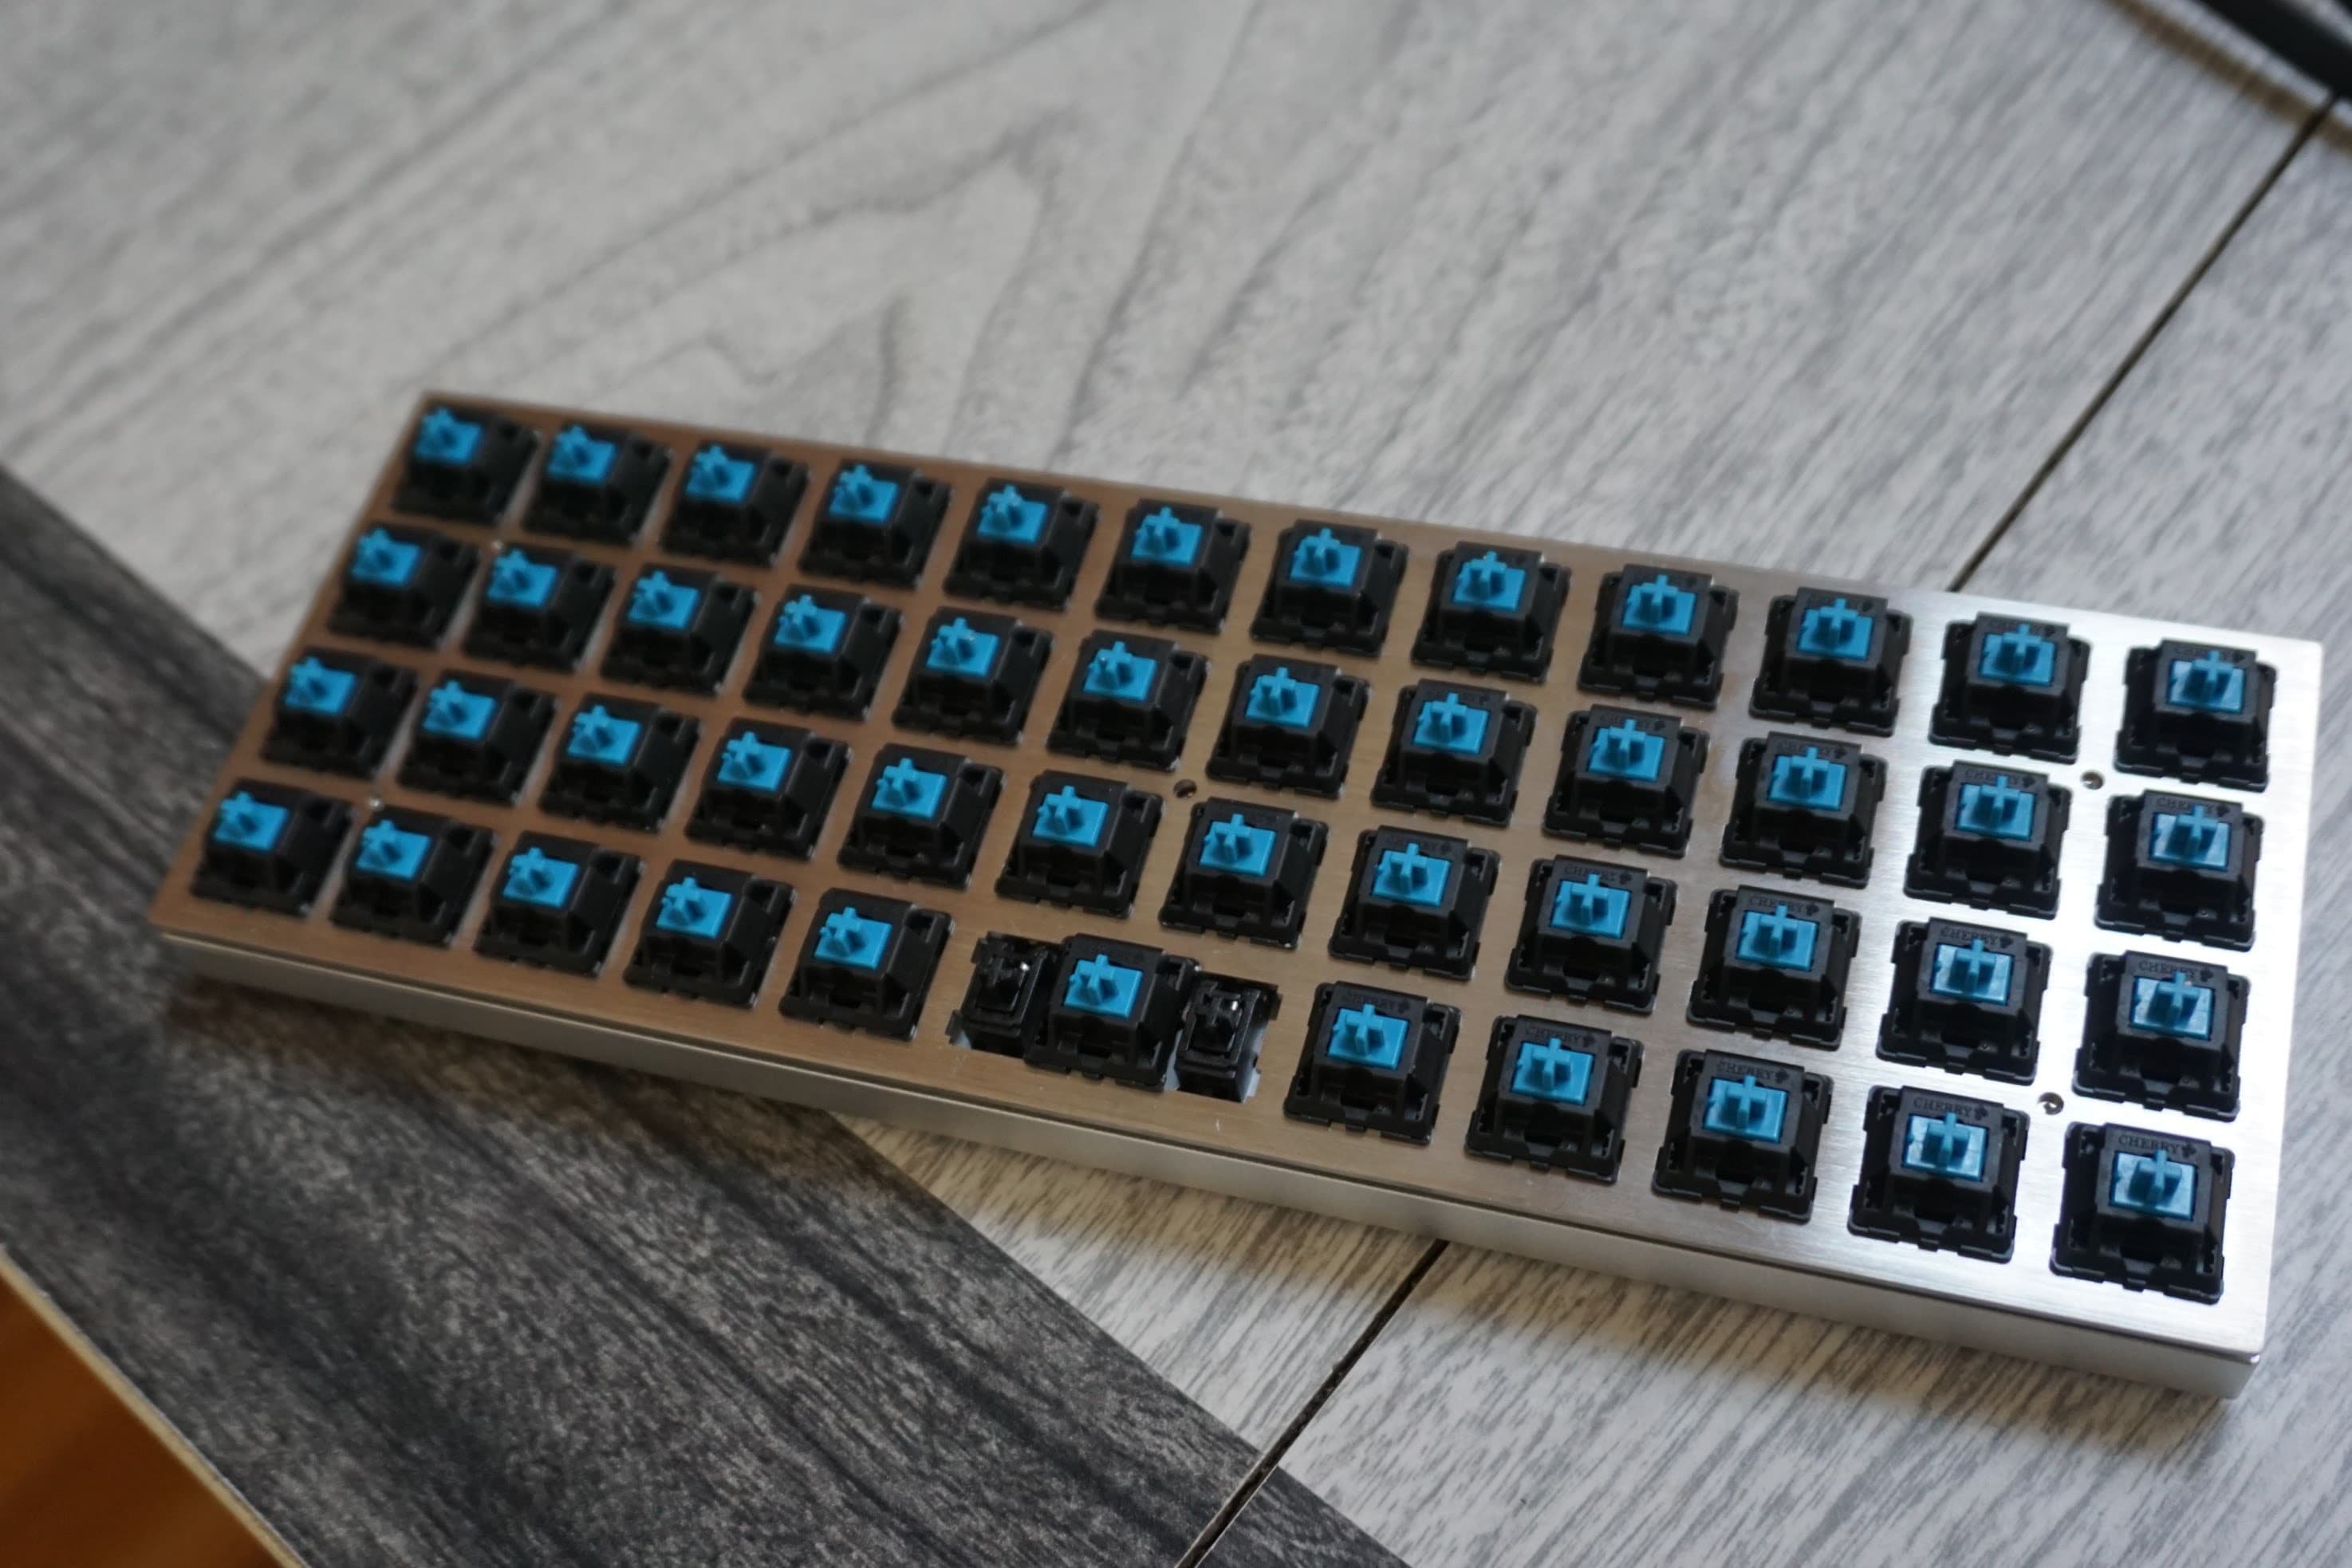
I was ready to try my luck with the Planck PCB. Something I didn't fully appreciate at the time is that it comes with all the components that aren't switches already soldered: resistors, diodes and a microcontroller. And like most boards compatible with Cherry MX-style switches, the Planck's switches are plate mounted, meaning the switch first snaps onto a metal or plastic plate to position it securely before its pins are soldered to the PCB below.
Grid or MIT?
There are two main layouts for the Planck: grid, consisting of 48 keys (4x12), and MIT, consisting of 47 keys (a similar grid, except a single switch is used for the spacebar in the bottom row with an optional stabilizer bar). As I'd read online, the best strategy for soldering plate mounted switches is to pop in the four corner switches, solder those, and then proceed to solder the rest of the board.
I went with the MIT layout, so I had 47 x 2 pins per switch = 94 pins to solder (!). This sounded like a lot, but once I got into a flow state (pun regrettably intended), I blinked and was suddenly done.
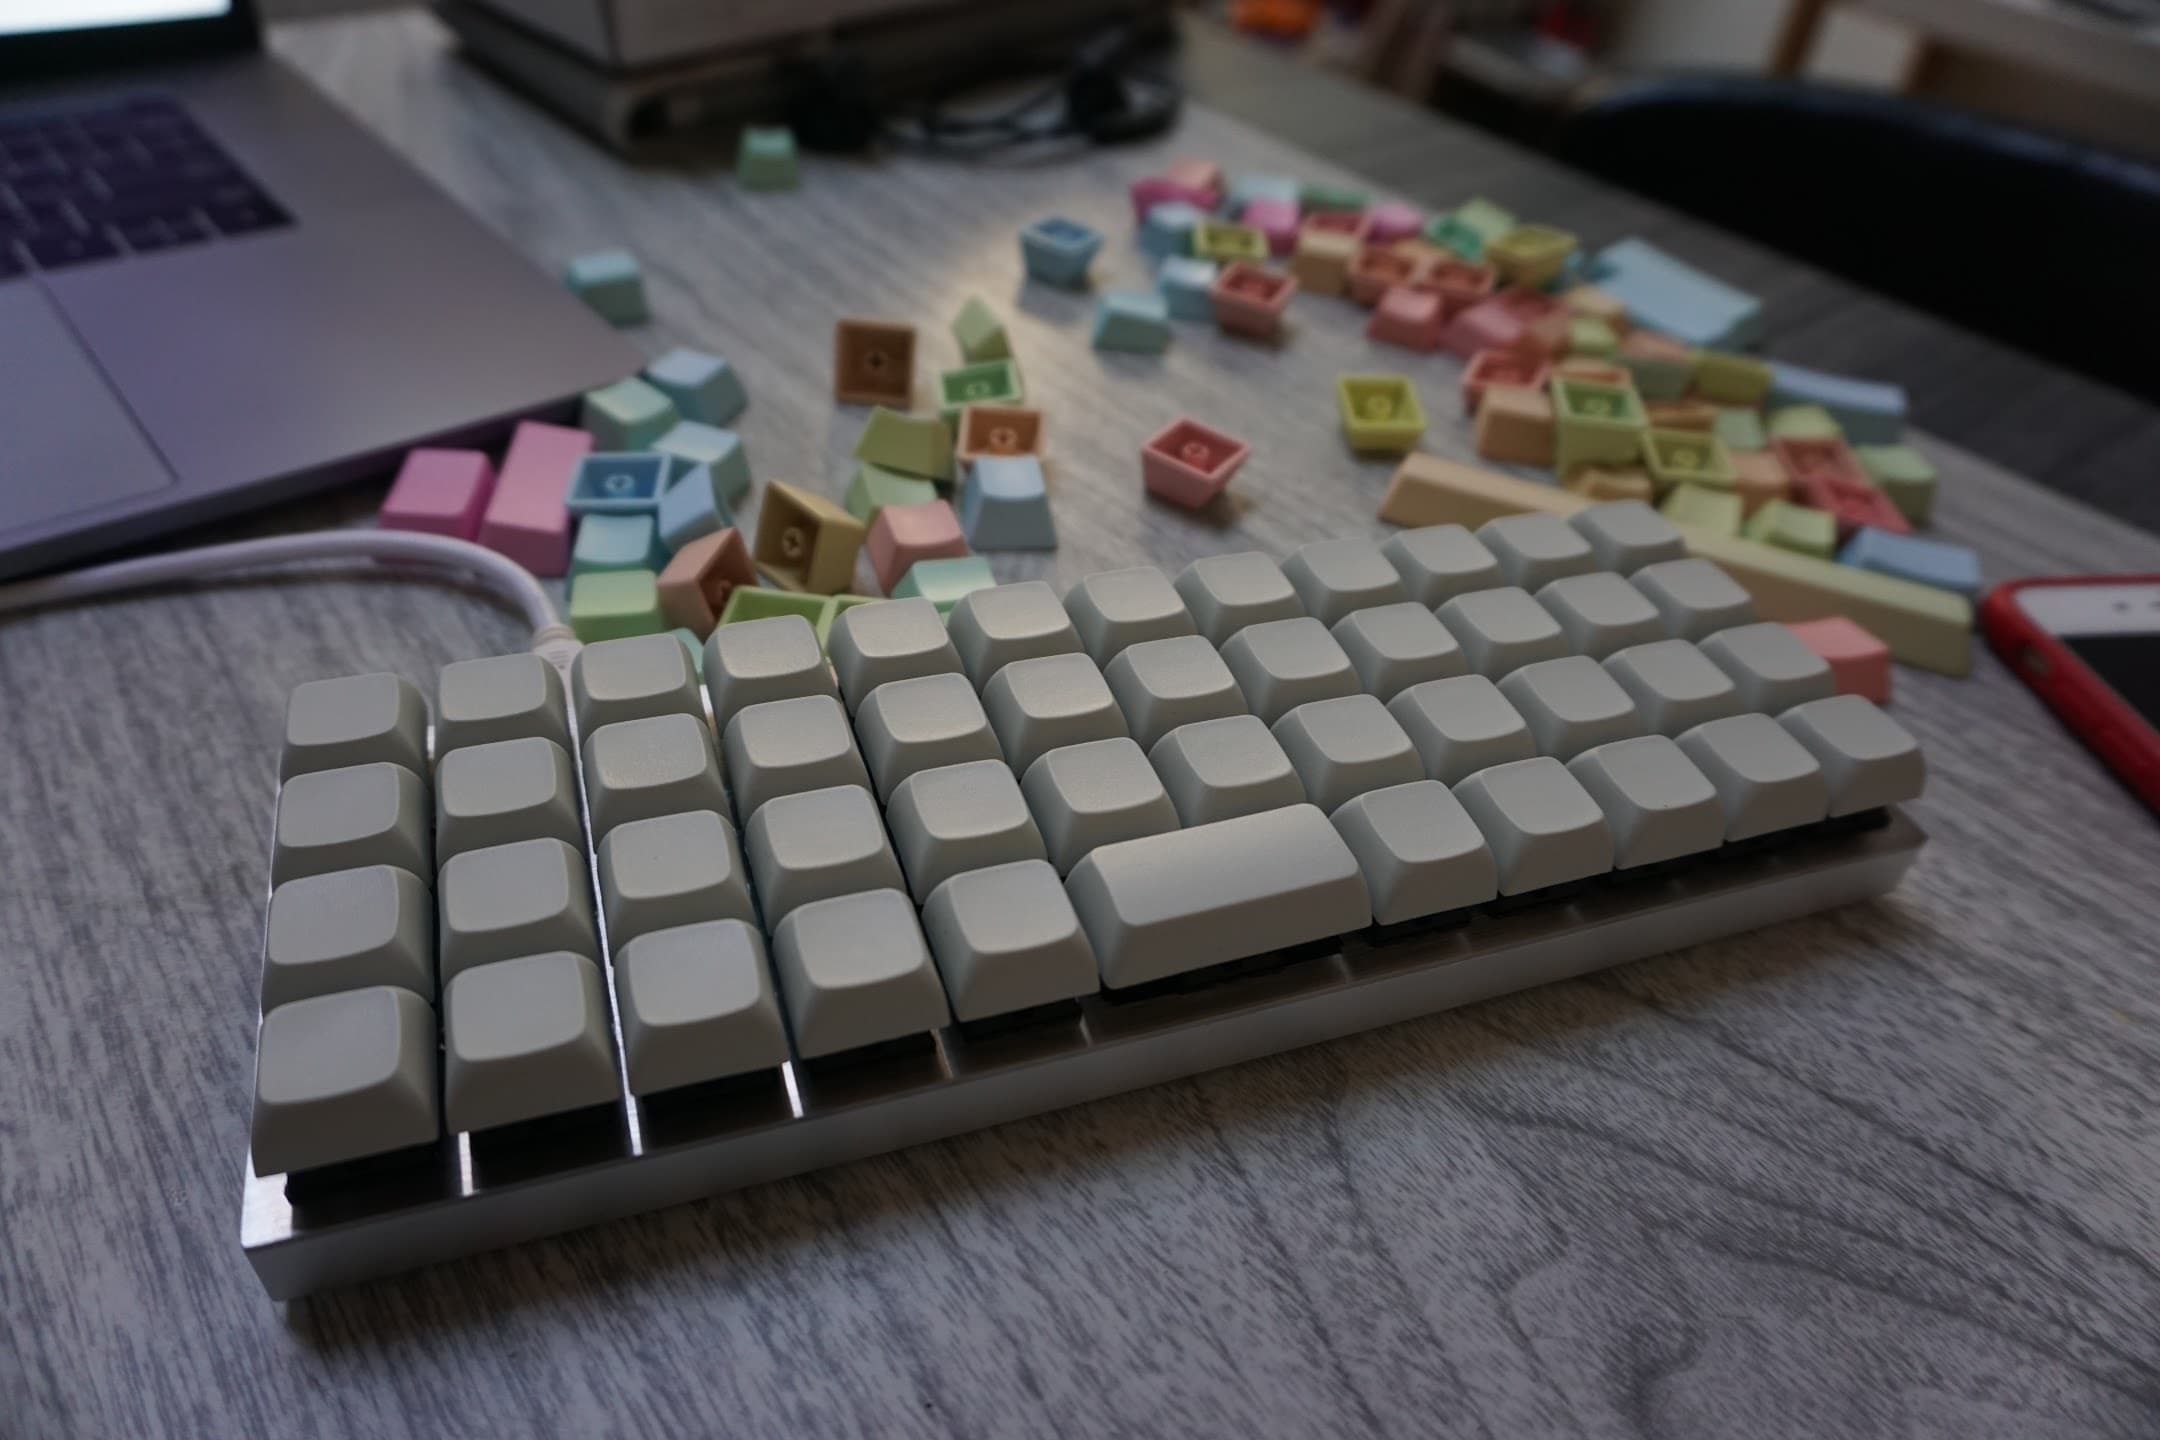
All that was left was the task of re-learning how to type! I underestimated how steep the learning curve would be: the default layout is intuitive once you're used to it, but to compensate for the fact of so few physical keys, the Planck has three layers of "keys" in software embedded on the board, also known as firmware. There are "raise" and "lower" keys on either side of the spacebar that allow you to access these layers, mostly consisting of special characters and numbers, via key combinations.
I also came across several mentions of flashing the board, or loading new firmware instructions ("flashing" for "flash memory"), but I was able to bypass what is usually the final step of a keyboard build in this case as the Planck comes pre-flashed with a well-designed standard layout.
After around a year and a half of daily use, I can confirm Plancks are great everyday keyboards. I'm able to switch between staggered and ortholinear layouts with brief periods of slower than normal typing speeds, and since only switch soldering is required, Plancks are also a great introductory soldering project.
After I finished the Planck, my iron began collecting dust... until I discovered split boards. In my next post, I'll describe a slightly more involved build: a Levinson split ortholinear board with, as you might expect, two separate PCBs. To be continued!